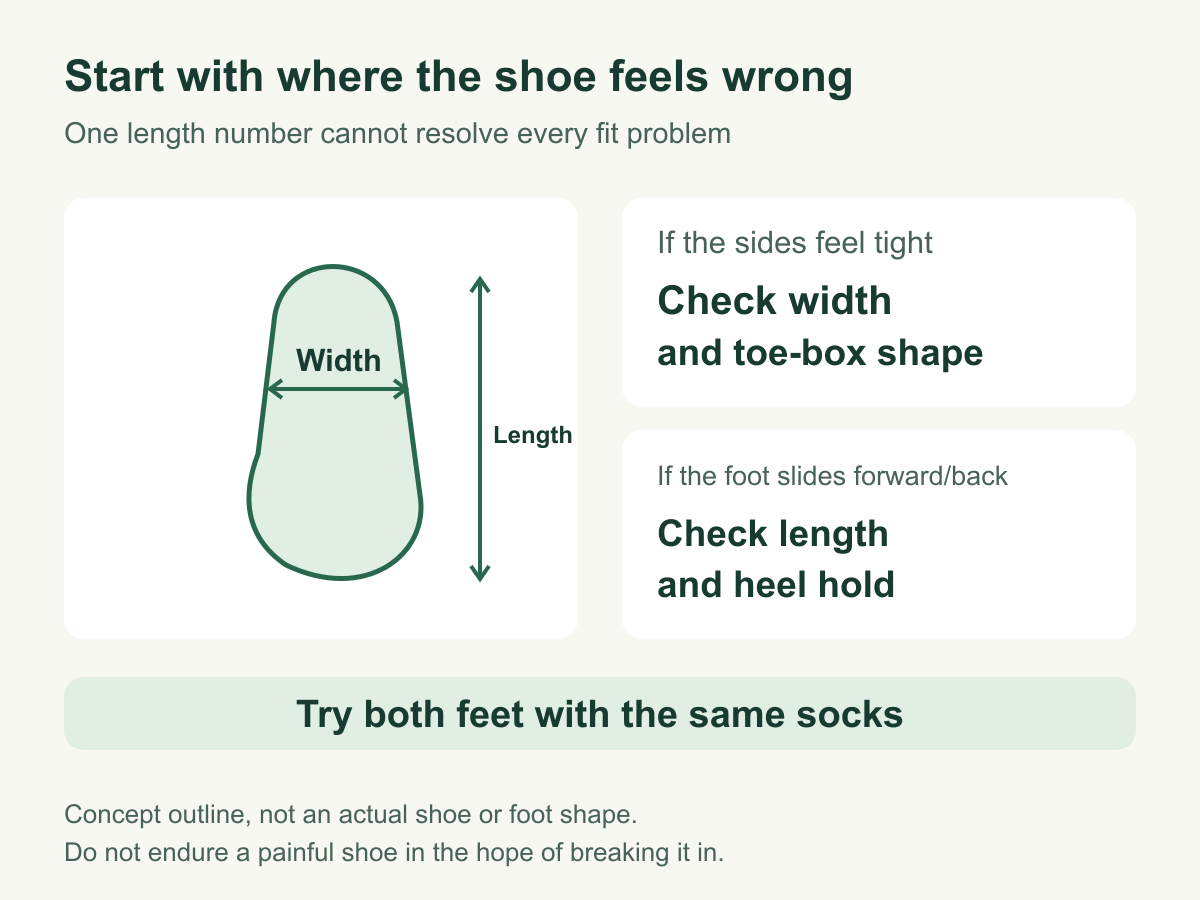
If a walking shoe squeezes across the forefoot, check its width and toe-box shape before simply choosing a longer size. A shoe that lets your heel slide around is not automatically more comfortable because it feels roomy.
Use your usual size as a starting point, then check how the exact model fits both feet. This guide covers ordinary shoe shopping, not a prescription for therapeutic footwear or insoles.
Separate a length problem from a width problem
Guidance from the US American Academy of Orthopaedic Surgeons (AAOS) advises checking both length and width, which can vary across brands and styles. AAOS
For example, “I usually wear 260 mm” may be a useful starting note for shoes using Korean millimetre size labels. It does not mean every shoe with that label will fit. US, UK and other sizing labels also need the manufacturer’s corresponding chart; do not treat the numbers as interchangeable foot measurements.
These are fictional fitting situations, not diagnoses:
| Observation | Compare | Avoid assuming |
|---|---|---|
| Room at the front, pressure at the sides | Width; toe-box | A longer shoe will solve a width problem |
| Width feels comfortable, but a toe touches the end | Length; clearance | A painful shoe just needs breaking in |
| Too much room and a slipping heel | Length; heel; fastening | An insole will solve every fit problem |
| Only one foot feels comfortable | Both feet | One comfortable foot means both shoes fit |
Prepare measurements and useful notes
Measure your feet while standing. Try shoes later in the day with the socks you plan to wear, and choose a fit that accommodates your larger foot. AAOS
A few notes can help you compare pairs:
- Where you expect to walk: pavement, indoors or your commute.
- The socks you intend to wear.
- Pressure in your current pair, such as the right little toe or left instep.
- The current brand, model, size and width option.
- The fit problem you want a new pair to solve: length, width, heel movement or something else.
Suppose your feet measure 252 mm on the left and 255 mm on the right. These fictional measurements do not automatically translate into buying a shoe labelled 265 mm. Use the model’s chart and instructions, then assess the actual fit. Your measurements help with the choice, but they do not determine the shoe size on their own.
Try both shoes and check five areas
Use the shop’s permitted fitting area, or follow an online retailer’s indoor try-on conditions. Fasten the shoes as the product instructions describe.
| Area | Observe | Compare |
|---|---|---|
| Front | Longest toe touching the end or too much space | Length; shape |
| Forefoot | Pressure at the sides or crowded, overlapping toes | Width; shape |
| Instep | Pressure after fastening | Fastening; shoe shape |
| Heel | Heel repeatedly lifting or slipping | Length; heel; fastening |
| Both feet | Unequal pressure | Both shoes |
AAOS suggests half an inch (12.7 mm, about 13 mm) beyond the longest toe. AAOS
That amount of toe room does not guarantee a comfortable fit. Check the other areas too.
Hold off buying if the shoe only seems acceptable because you hope it will stretch or that different socks will fix the pressure. Note where it feels wrong, then compare another option.
Check exchange conditions before ordering online
Record the size and width of a pair that already fits, then compare the new model’s own size chart. Even within a familiar brand, models can fit differently.
Before ordering, check:
- The options: does the listing distinguish length from width?
- The sizing system: which country’s chart and product category does the label use?
- The fitting conditions: what do the retailer’s rules say about unpacking, indoor try-ons and outdoor wear?
- The cost of a mismatch: are exchanges available, and who pays return shipping?
Do not assume an opened or outdoor-worn pair can be returned. This guide has not checked a particular retailer’s current prices or return policy.
If your existing shoes are comfortable, suitable for the intended walk and in sound condition, you may be able to start a walking routine with the pair you have. Compare shoes around the fit problem you want to solve, rather than relying on a brand ranking or advertisement alone.
Treat pain as a reason to reassess
Stop an activity that causes pain. UK NHS guidance advises medical assessment for persistent or recurring foot pain, interference with daily activities, tingling or lost sensation, and foot pain with diabetes. Severe pain, inability to walk or a changed foot shape needs urgent assessment. NHS: pain in the bottom of the foot
Use the appropriate care service where you live. These examples do not diagnose the cause of pain. A different shoe cannot be promised to resolve foot or knee pain, and this article does not recommend corrective footwear as treatment.
For an appointment, note where the pain occurs, when it began and the walking conditions in which it appears. Your notes about your shoes can help with that conversation.
To plan the activity itself, see Getting Started With Exercise: Walking and Everyday Movement.
Sources checked: 8 September 2026. AI helped with research, drafting and adapting our Korean article into English. The tables and measurement examples are original editorial tools informed by US AAOS and UK NHS guidance. We have not tested shoes for comfort, durability or pain relief.